Step By Step Guide To Clean Tesla Air Filter!
Last updated on September 12th, 2023 at 03:03 am
As a Tesla owner, you should know that your vehicle requires regular maintenance, which could involve cleaning its air filter. This process is essential for getting the most out of your car.
That’s because a dirty air filter can reduce the performance of your Tesla and lead to long-term damage if you don’t pay conscious attention to it.
Although this task can be daunting, especially for first-time owners, it doesn’t have to be. Here’s how to clean your Tesla air filter.
Firstly, get your replacement air filter with your tools for removing the T20 screw. Next, locate the air filter housing in the front engine bay or panel. Next, remove the screws or unclip the panel, depending on your Tesla model, and remove the two air filters. Clean it with a soft brush, then rinse in warm water and mild soap.
In this article, I’ll take you through the steps required to clean your Tesla air filter and eliminate the smell in your car. I’ll then explain if you should change it and how often.
At the end of this article, you’ll be able to clean or change your Tesla air filter without help.
How to Clean Tesla Air Filter?
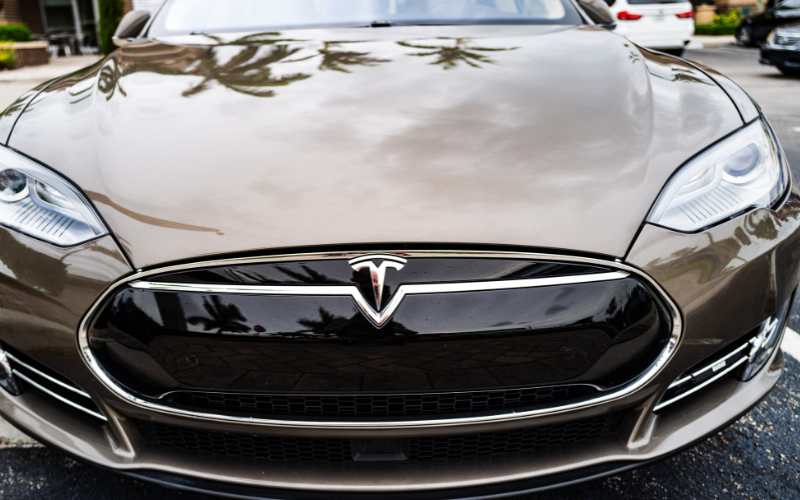
Cleaning your Tesla air filter is a relatively simple task that you can do at home.
To clean your Tesla air filter, follow the steps below:
- Locate the air filter location.
- Remove the air filter.
- Inspect the air filter.
- Clean the air filter.
- Dry the filter.
- Reinstall the filter.
#1. Locate the Air Filter Location
To clean your air filter, you need to locate where it is before you can open it to clean it.
For different Tesla models, the location may vary, but you can mostly find it in the glove compartment.
Other locations may include under the dashboard or behind the glove box. Once you have located the filter, you will need to remove it from its housing.
The table below shows a listing of the location of air filters in different Tesla models:
| Model | Air Filter Location |
|---|---|
| Model Y | Behind the glove box. |
| Model 3 | Behind the glove box. |
| Model S | Behind the glove box. |
| Model X | Behind the glove box. |
Note: Depending on the vehicle’s year and trim level, the air filter’s position may change.
I recommend you consult your owner’s manual for detailed information on the air filter’s location in your Tesla.
#2. Remove the Air Filter
After locating the air filter location, unclip the panel with a pry tool and carefully remove the wires connecting to the speaker and light.
Next, use the pry tool to remove the clip holding the panel and the screw covering the air filter door. Next, use a T20 socket wrench or the available screw size to access the air filter.
There are two air filters there, so take them out to enable you to clean them.
#3. Inspect the Filter
After taking out the filter, inspect them properly for any damage or clogging to check for the cause of the smell in your car. After a proper inspection, you can know how to do the cleaning.
#4. Clean the Air Filter
You can clean the air filter now after noticing no damage. First, tap the filter gently to remove any loose dirt or debris.
Then use a soft-bristled brush to remove the dirt or debris stuck to the filter and wash it with mild detergent and warm water.
Next, rinse the air filter thoroughly. It’s important to remove all detergent residue from the filter, as this could lead to additional engine issues.
#5. Dry the Air Filter
After properly cleaning the air filter, it is necessary to dry it off before reinstallation. Please leave it to air dry completely, although this process may take several hours.
#6. Reinstall the Filter
Finally, place the filter back into the housing, and secure the clips or screws if needed. Then, place the panel back, clip it, and ensure everything is closed properly.
Is It Better to Clean an Air Filter or Replace It?
It depends on factors like how long you’ve had it, how dirty or worn out it is, or the air filter you have.
For example, if you have a disposable air filter, it’s generally better to replace it when it gets dirty or clogged.
That is because cleaning the filter can be difficult, and some dirt and dust particles may remain trapped inside it even after cleaning it.
On the other hand, if you have a washable air filter, it may be more cost-effective to clean the filter instead of replacing it.
Regularly washing your air filter will ensure it stays in good condition for longer. The only downside is that cleaning the filter takes more effort than simply replacing it.
For example, you may need to replace it if it looks worn or overly dirty.
If not, cleaning is the best option for you. Wash it with a mild detergent and warm water before drying it thoroughly and reinstalling it.
Cleaning is also possible if the filter is cloth or carbon. If yours is that and it isn’t overly dirty or worn out, you should clean it.
The only downside is that it takes more effort to clean the filter compared to simply replacing it.
According to Tesla, your air filter is due for replacement every 2-3 years—two years for a cabin air filter and three years for a HEPA air filter.
So if your vehicle air filter is up to 2 years or more, you should replace it. However, you may need to replace it before the specified date, depending on the usage and mileage.
For example, if our vehicle has covered about 15,000 – 20,000 mileage, you should replace the air filter without waiting two years.
Before deciding whether you should clean or replace your air filter, inspect it and then decide. Doing this will help you maintain optimal engine performance.
How Often Should You Change Air Filter in Tesla?
Tesla recommends you change your air filter every 2-3 years, depending on the type of air filter you have. Also, change it when your vehicle has covered about 15,000 – 20,000 mileage.
It would be best if you also changed it when you notice the air quality in your vehicle interior starts to deteriorate.
How often you do this depends on your driving environment, how frequently you drive your car, etc.
Doing this ensures that the air filter is clean and free of dirt and debris, which can build up over time.
Once your vehicle meets these criteria, you should inspect your air filter if it’s due for a replacement.
To access the air filter in your Tesla, open the hood and locate the air filter housing. It’s important to note that different Tesla models have different air filters.
So, check the owner’s manual or consult a mechanic before replacing the air filter in your Tesla.
Once you’ve accessed the air filter, use compressed air to blow out any accumulated dirt or debris. Also, clean the evaporator core to eliminate the remaining dirt and smell.
Then, replace the filter with a new one that fits your particular model. That will ensure your car runs efficiently and help keep dust and smell out of the cabin.
Aftermarket options are available to purchase a new air filter for your Tesla. However, you can use an OEM replacement part for better fitment and quality assurance.
How Do I Access My Tesla Air Filter?
Accessing your Tesla air filter is a relatively straightforward process. Though, you will need to be careful and methodical to ensure you don’t damage the parts or make mistakes.
Follow the steps below to access your Tesla air filter:
- First, open the hood: Near the driver’s side door, there’s a lever that you have to pull down.
- Locate the filter’s housing: Depending on the model, you may find either a flat rectangular cover in the engine bay or a circular one. Remove the cover to access the air filter.
- Access the air filter: Remove the screws or clip off the lid to access the air filter. Now you can see the air filters and remove them.
- Clean/Replace the filter: After removing the filter, you replace or clean your air filter as required. Then, replace or reinstall the filters properly.
- Replace the lid: Finally, when replacing the air filter, ensure that you securely fasten all clips before replacing the protective cover (lid).
After replacing the new air filter, run the car for around 10-15 minutes to ensure that everything works correctly and there aren’t any airflow issues.
Ensure also to check the area where you installed the air filter for any signs of leakage. If everything looks ok, you’re good to go!
Maintenance of your air filter is important to your overall vehicle health.

Hey, I’m Michael Davis, a 35-year-old with a degree and a love for cars and tech. Since I was a kid, cars have been my thing—so much that I even thought they ran on magic beans! Fast forward, and I’ve built Vehicle Army, your one-stop-shop for easy-to-understand car facts.

