Tesla Air Filter Replacement (3 Methods To Do It)
Last updated on September 12th, 2023 at 03:03 am
The air you breathe inside your car matters a whole lot. Well, your car’s air filter determines the quality of the air you get from your car.
So, when the air filter is defective, it affects your Tesla’s air circulation and quality. Besides, your Tesla ought to smell as good as it always looks.
So, you’ll have to replace your car’s air filter regularly. Hence, the need to know more about your Tesla air filters and how to replace them.
Tesla air filter replacement involves finding the air filter’s location; you can check your car manual for help. The next step is to remove and replace the air filter(s), clean the compartment, and replace the removed components. Also, it’s ideal changing your air filter every one or two years or probably when it gets faulty.
This article will cover more about how to replace your Tesla air filter. And you will also know how often you should replace your car filters.
Ultimately, you will know how much an air filter replacement will cost.
How Do I Replace the Air Filter on My Tesla?
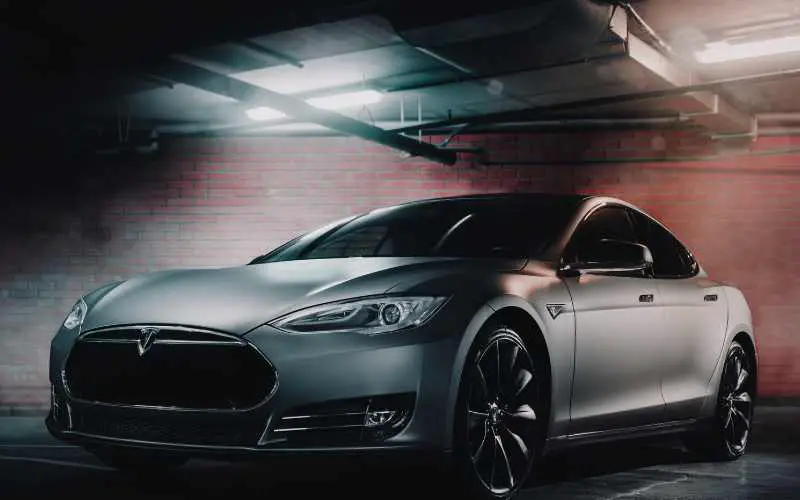
Replacing your Tesla air filter involves four major steps:
- Locate the air filter compartment and the air filter itself.
- Remove the old filter and replace it with the new one.
- Clean the area to get rid of dust or any debris in the area.
- Replace the removed components of the car correctly.
You’ll need a trim removal tool, a T-20 torque screwdriver(if there are any screws to lose), and your hands.
However, Sometimes you only need to use your hands for the job without using the trim tool.
Replacing your Tesla air filter is an easy task you can do on your own. However, the whole process of replacement will depend on what Tesla model you have.
In most models, such as the Tesla S and X, you can access the air filter in the footwear area of the passenger side. However, if you need more clarity with the location, it’s best to check your manual.
Since the air filters are in different locations in different models, the process will differ slightly.
So I will be explaining three methods of replacing your Tesla air filter. Follow any method that’s similar to your Tesla.
Method 1
These steps will help if your Tesla is a model S pre-facelift (2016 above). Follow these steps below to replace the air filter on your Tesla easily.
- First of all, ensure you switch off your Tesla. And turn off the car heating system.
- Start by opening up the front truck of your Tesla.
- Next, unclip the panel covering the air filter. The middle panel will have an air filter in models like the Tesla Model S. The target panel usually has an air intake structure on it.
- Continue to unclip the panel carefully on all sides, and remove the panel.
- Now, the air filter should be accessible. Unclip the cover and remove the air filter by sliding it out.
- Before inserting the new filter, clean the filter space to remove dust and particles.
- Next, ensure the airflow arrow on the air filter points upwards. And carefully insert the new air filter.
- Finally, clip back the filter cover. And correctly clip back the outer panel and close the trunk.
Note: avoid forcefully stretching or bending any panel. And be careful with any wires. If you damage the orange high-voltage cable, it can lead to terrible shock and injuries.
You must have technical knowledge before doing the replacement yourself. You can also take your Tesla to a professional to replace your air filter at an affordable cost.
Consequently, the above procedure of replacing the air filter is simpler. However, most models will involve more detaching and losing screws to get to the air filter compartment.
Method 2
If your Tesla model is the model S facelift model, and a model X, follow the steps below.
- Turn off your Tesla before starting.
- Next, to locate the air filter, you must remove part of the interior trim on the car’s passenger side.
- After unclipping and removing the front panel in front of the car, remove the panel at the side.
- Loosen the screws around the glove box to enable you to remove the glove box.
- While removing the glovebox, be careful with any wires you come across. And do not disconnect any wires.
- You will find the air filter cover after successfully removing the glovebox. Remove the cover by lightly pressing the right side.
- Finally, you can remove the old air filter and replace it with the new filter the right way. And fix back the removed parts.
Method 3
Follow the steps below to replace the air filters on your Tesla model 3.
- Firstly, remember to turn off your heating system and the car.
- Move to the vehicle’s passenger side and remove the foot mat before you start.
- Use your hands or the trim tool to remove the panel at the front side. Here the process gets a task, but be careful not to force wires.
- In this method, you must disconnect the two wires holding one of the panels.
- Use your T-20 screwdriver to lose the screws on the air filter cover.
- Since model 3 has two air filters, you have to hold the tab of the visible filter and pull the filter out.
- Next, pull the lower filter upward and remove it.
- Replace the old filters with new ones and cover the panels back.
When Should I Replace My Tesla Air Filter?
You should replace your Tesla air filter every two years. Also, you can replace the air filter earlier when you notice a fault.
For example, a foul smell inside your Tesla calls for air filter replacement.
Tesla’s HEPA(High-Efficiency Particulate Air) filter will last two years or more. However, Tesla recommends air filter replacement every two years for better performance.
Changing your Tesla air filter will also depend on certain factors and how you use your Tesla. However, these factors will include your environment and how often you drive.
The air quality in an environment will impact how often you replace your air filter. Also, the filter quality is another major factor to consider when replacing your air filter.
However, replacing your Tesla air filter is essential to prevent road dust and other particles from getting in. Besides, it’s usual for the air filter’s resistance to get weaker with time.
If the air filter is weak or faulty and is due for replacement, you should be able to tell if:
- There’s a Funky/foul smell in the car.
- There’s poor Air conditioning and heating performance.
- The filter itself is physically dirty, probably from the dust of other particles.
Also, if you are obedient to your maintenance schedules, you should know when to replace your filter.
It would help if you prioritized checking when your Tesla air filter is bad and needs replacement.
Also, adhering to good maintenance practices will preserve the car’s efficiency and durability.
What Is My Tesla’s Air Filter Replacement Cost?
Tesla’s air filter replacement cost will range from $70-$200, depending on the Tesla model and filter type.
Depending on the filter, an air filter costs around $30-$80. Also, the labor cost is around $40. However, replacing your Tesla air filter will be cheaper if you do it yourself.
Nevertheless, below is a table showing the average cost of replacing different models of Tesla.
| Tesla models | Average Replacement Cost |
|---|---|
| S | $114 |
| 3 | $82 |
| X | $51 |
| Y | $75 |
For instance, XTechnor Tesla cabin filter replacement for model Y costs $49.99 on Amazon.
Generally, the maintenance cost of a Tesla is usually lower than that of gasoline cars. Tesla doesn’t have numerous air filters on them like gasoline cars.
The fact that Tesla doesn’t have engines makes filter replacement and maintenance the least expensive.
However, Tesla’s main objective is to produce premium and affordable electric vehicles for everyone.
How Many Air Filters Does a Tesla Have?
Most models of Tesla use a single air filter, the popular HEPA filter. While some Tesla models, such as most facelift models, use two filters.
A Model 3 Tesla is known to have two filters inside. At the same time, the rest models have a single filter.
Also, the number of air filters your Tesla will have depends on your filter type and car model.
Tesla models such as 3 and Y will have a cabin air filter in front of the car and an air filter.
Although, a double filter is common with older models of Tesla. But with the introduction of the large HEPA filter, it’s enough to take care of the whole filtration system.
Models of Tesla, such as the models S, X, and Y, now come with a large HEPA filter.
However, model 3 doesn’t have HEPA filters because there’s not enough space on the Tesla.
The air filter model X is ten times bigger and better than a regular air filter in a vehicle.
If you don’t have a HEPA filter in your Tesla, upgrading to it is worth it. In terms of their effectiveness and filtration capability, HEPA filters will maintain good airflow in your Tesla.
The air filters on a Tesla are a protective component of the car for maximum comfort. The air filters will block all sorts of dust or particles from invading the vehicle through air ventilation.

Hey, I’m Michael Davis, a 35-year-old with a degree and a love for cars and tech. Since I was a kid, cars have been my thing—so much that I even thought they ran on magic beans! Fast forward, and I’ve built Vehicle Army, your one-stop-shop for easy-to-understand car facts.

